


Transparent Parts by Vacuum Casting: Clear Photopolymer Resin vs. Acrylic (PMMA) vs. Polycarbonate (PC)
The flame polishing that makes acrylic glow will ruin polycarbonate — every clear material has its own finishing playbook.
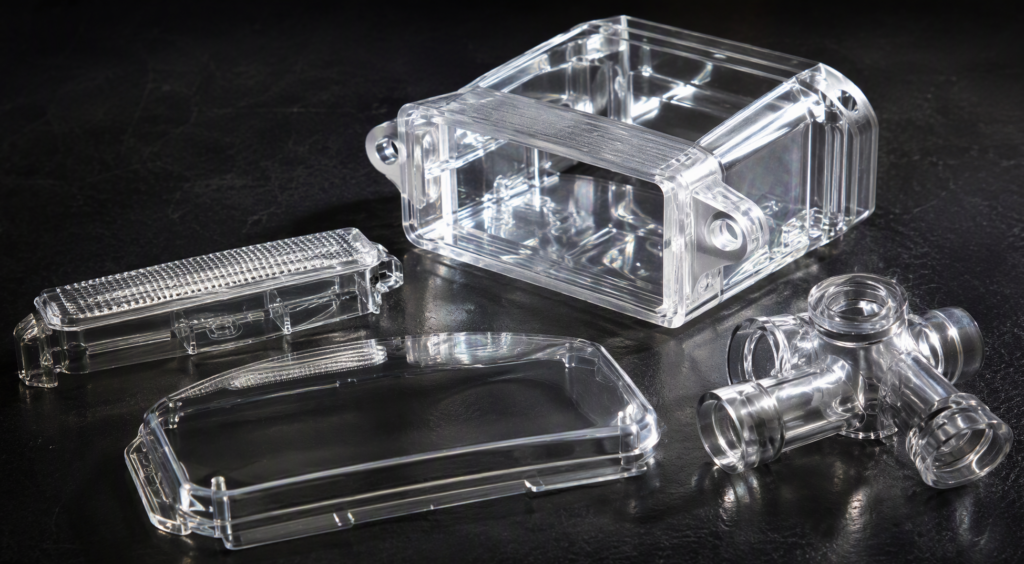
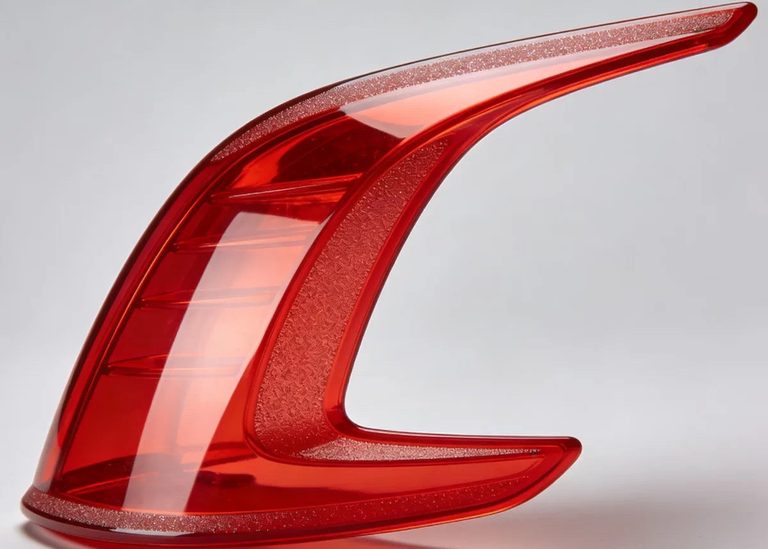
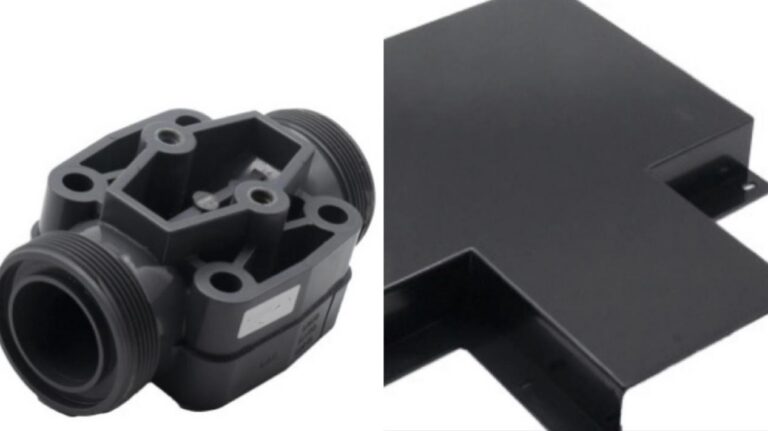
Crystal-clear prototype parts: a light guide, lens covers, a display window and a fluid-sight manifold.
Few prototyping jobs are as unforgiving as transparent parts. A light guide, lens cover, display window, or fluid-sight housing hides nothing: every bubble, scratch, and layer line scatters light and screams “prototype.”
In the silicone-mold vacuum casting ecosystem, three material routes dominate clear parts — clear photopolymer (SLA) resin, acrylic (PMMA), and polycarbonate (PC) — and each one plays a different role. Just as important, each demands a completely different post-processing playbook. This guide compares the three materials head-to-head, explains where vacuum casting fits, and details exactly how to finish each one to optical clarity.
1. The Three Material Routes — and Where Vacuum Casting Fits
Before comparing, one clarification saves a lot of confusion: these are not three interchangeable materials for the same machine. Clear photopolymer resin is printed on SLA/MSLA 3D printers; it is both a direct part material (1–5 pieces, complex shapes) and — critically — the standard master pattern from which silicone molds are made for vacuum casting. Acrylic (PMMA) and polycarbonate (PC) are genuine engineering thermoplastics, typically CNC machined from solid stock when you need 1–10 parts with real end-use material properties. Vacuum casting sits in the middle: it pours water-clear polyurethane (PU) resins — formulated to simulate PMMA or PC — into silicone molds, delivering 5–25 identical transparent parts with injection-mold-like surfaces, without cutting any tooling.
So a typical project flow looks like: SLA-print a polished master, cast 10–20 clear PU copies for user trials, then machine or mold PMMA/PC for final validation. Knowing which route to use at which moment is the real skill.
2. Material Deep-Dive: Properties, Strengths, Weaknesses
2.1 Clear Photopolymer Resin (SLA Printing)
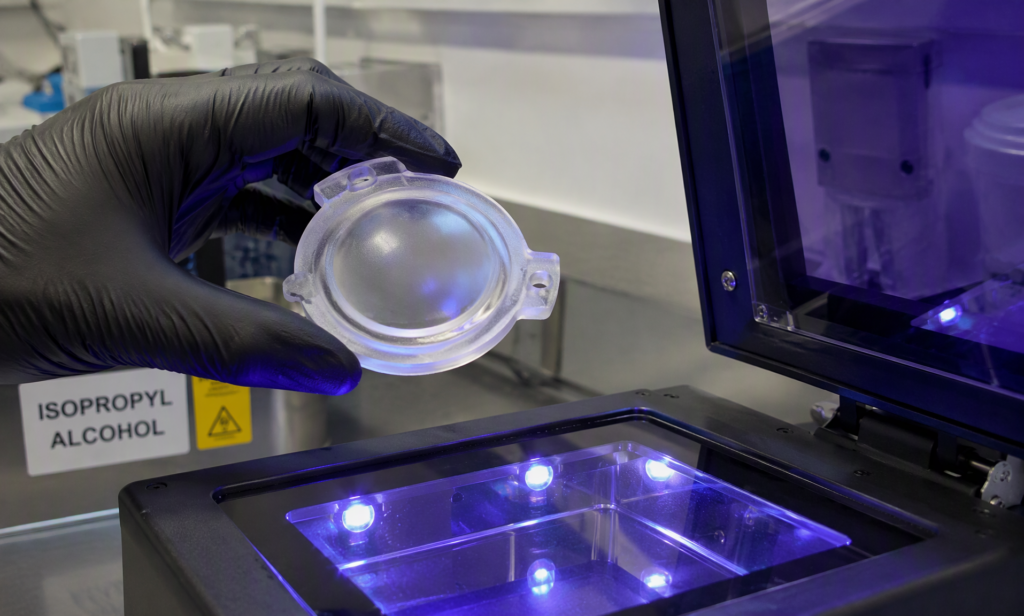
A clear SLA part at the UV curing station — clarity is created in post-processing, not in the printer.
What it is: UV-cured liquid photopolymer, printed layer by layer at 25–100 µm resolution. Straight off the printer, clear resin looks frosted — microscopic layer lines scatter light.
Strengths
- Geometric freedom nothing else matches: internal light-guide channels, undercuts, integrated mounting features — printed in one piece.
- Highest detail resolution of the three routes; ideal for small, intricate optics-adjacent parts.
- Zero tooling, 1–3 day turnaround — the fastest route from CAD to a clear part in hand.
- The universal master pattern for silicone molds: a well-polished SLA master reproduces its finish into every cast copy.
Weaknesses
- Brittle — lower impact resistance than even PMMA; not for load-bearing transparent parts.
- UV sensitivity: standard clear resins yellow with sunlight; UV-stable grades or topcoats are mandatory outdoors.
- Over-curing clouds the part: excessive post-cure degrades clarity instead of improving it.
- Heat resistance typically only 50–70 °C.
2.2 Acrylic (PMMA) — The Optical Benchmark
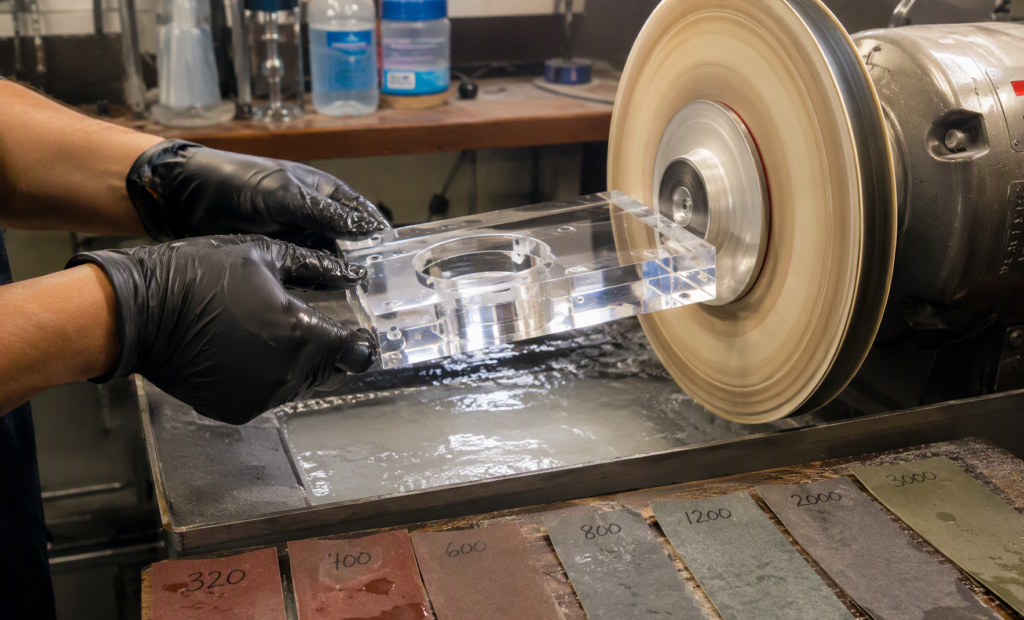
Buffing a machined acrylic part: PMMA is the most polishable of all clear plastics.
What it is: polymethyl methacrylate — Plexiglas, Perspex — the optical-quality thermoplastic, CNC machined from cast or extruded stock.
Strengths
- Best-in-class light transmission: ~92% — clearer than glass, with no blue tint even in thick sections.
- Harder, more scratch-resistant surface than PC or resin; scratches can be polished out.
- Naturally UV-stable: essentially no yellowing for 25+ years outdoors — no coating required.
- The most polishable clear plastic: responds beautifully to sanding, buffing, and flame polishing; solvent bonding creates optically invisible joints.
Weaknesses
- Brittle: ~17× the impact resistance of glass, but cracks rather than deforms under sharp impact.
- Heat limit ~70–80 °C continuous service.
- Stress crazing if machined aggressively or polished without annealing.
- Machining only: internal closed channels are difficult or impossible.
2.3 Polycarbonate (PC) — The Tough One
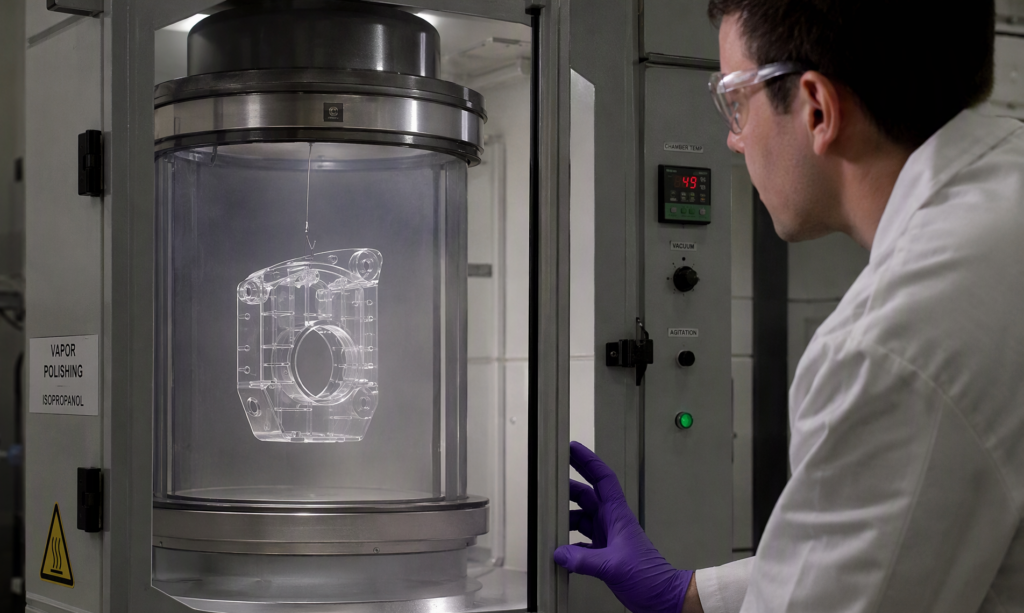
Vapor polishing: the professional route to optical clarity on machined polycarbonate.
What it is: the transparent high-impact engineering plastic (Lexan, Makrolon), CNC machined from solid stock.
Strengths
- Extreme impact strength: up to 250× glass, virtually shatterproof — the only real choice for protective covers, machine guards, and high-pressure sight glasses.
- Best heat resistance of the three: continuous service to 115–135 °C.
- Good light transmission at ~88–89%; tough and machinable — drills, mills, and cold-bends without cracking.
Weaknesses
- Soft surface that scratches easily (HB–2H pencil hardness) — needs a hard coat for most real applications.
- Yellows under UV within 1–2 years outdoors unless UV-stabilized or coated.
- The hardest of the three to polish: mechanical buffing tends to haze it, and flame polishing discolors and distorts it — PC demands vapor polishing.
- Sensitive to stress-cracking from some solvents and cleaners.
2.4 Clear Cast Polyurethane — The Bridge
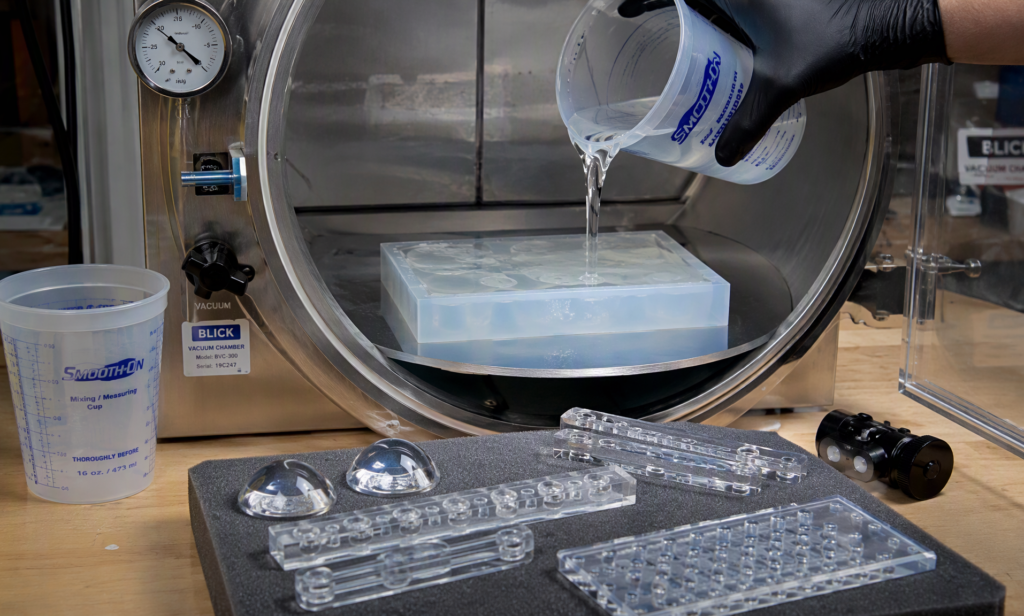
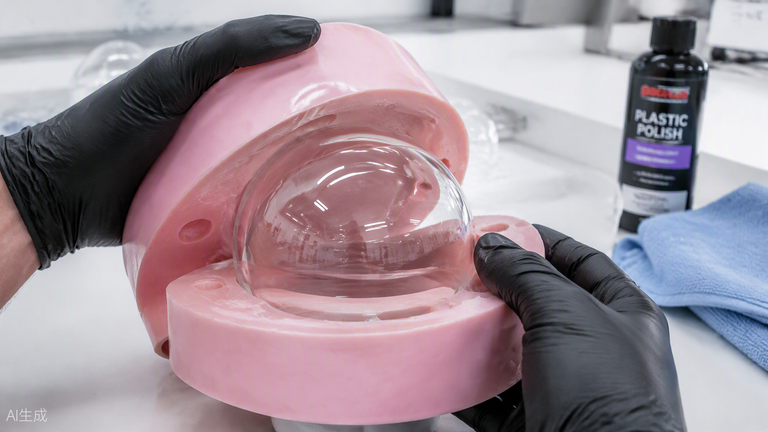
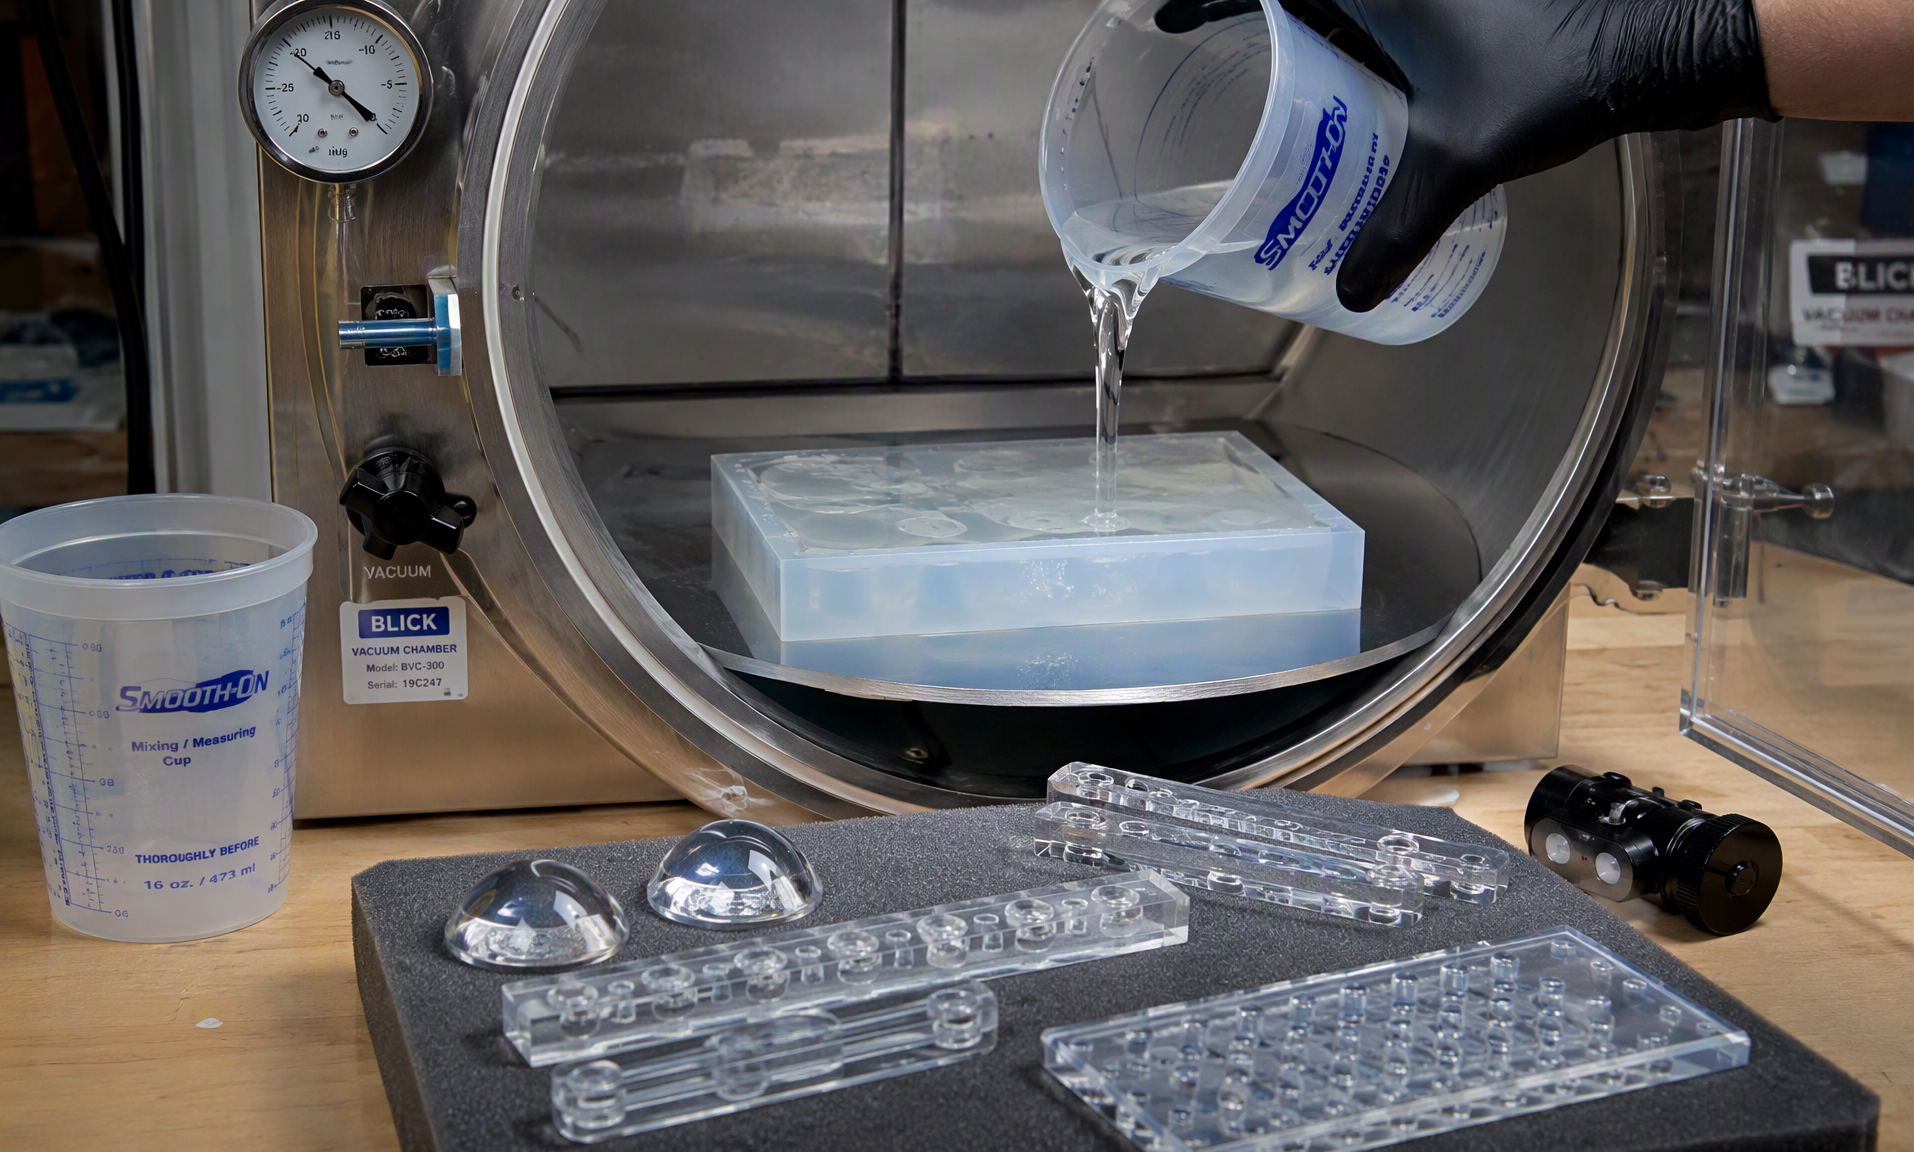
Water-clear PU resin degassed under vacuum and poured into a silicone mold — 5–25 identical clear parts per mold.
What it is: two-part water-clear PU (PMMA-like grades such as UPX5210, or PC-like grades), vacuum-degassed and poured into a silicone mold taken from a polished master. Each mold yields 15–25 parts; first articles in about 4–8 days.
Strengths
- 5–25 identical clear parts with mold-replicated surface finish — no per-part machining cost.
- Over 90% light transmission; PMMA-like and PC-like grades let you test the intended production material’s behavior before committing to it.
- Captures complex shapes from the master that machining cannot reach; UV-stabilized grades resist heat to ~100 °C.
Weaknesses
- Still PU, not true PMMA/PC: mechanical and thermal properties approach but don’t equal the production thermoplastics.
- Moisture is the enemy: humidity above ~50% causes haze, foam, and gloss loss; wooden or paper mixing tools can ruin a pour.
- Yellowing risk without UV-stable grades or topcoats; mold life limits batches to ~25 parts.
3. Head-to-Head: Material Comparison
| Property | Clear SLA Resin | Acrylic (PMMA) | Polycarbonate (PC) | Clear Cast PU |
| Light transmission | ~90% after polishing | ~92% (best) | ~88–89% | >90% |
| Impact resistance | Low (brittle) | Moderate (brittle) | Extreme (250× glass) | Moderate–good |
| Heat resistance | ~50–70 °C | ~70–80 °C | ~115–135 °C | ~70–100 °C |
| Scratch resistance | Low–moderate | High (polishable) | Low (needs hard coat) | Moderado |
| UV / yellowing | Yellows without UV grade or coat | Excellent — 25+ yrs stable | Yellows in 1–2 yrs without coat | UV-stable grades available |
| Geometry freedom | Excellent (printed) | Machining-limited | Machining-limited | Very good (mold-replicated) |
| Real production material? | No (photopolymer) | Yes | Yes | Simulates PMMA/PC |
| Typical batch size | 1–5 (part or master) | 1–10 machined | 1–10 machined | 5–25 per mold |
| Typical lead time | 1–3 days | 3–7 days | 3–7 days | 4–8 days |
4. Post-Processing: Where Transparency Is Actually Made
This is the section that separates parts that look like glass from parts that look like shampoo bottles. Each material has its own finishing chemistry — and using the wrong one destroys parts.
4.1 Clear SLA Resin: Sand, Coat, Cure
- Wash uncured resin off with isopropyl alcohol (IPA); dry completely.
- UV post-cure — carefully: enough to fully harden, but overexposure causes cloudiness.
- Wet-sand progressively: 400 → 800 → 1200 → 2000+ grit, cleaning between steps.
- Polish with plastic polishing compound and a microfiber or buffing wheel.
- Restore full clarity with a clear coat: dip or spray a thin layer of clear UV resin or acrylic clear coat; curing under nitrogen eliminates surface tack.
- For outdoor use, choose a UV-resistant topcoat to delay yellowing.
4.2 Acrylic (PMMA): The Polishable One
- Anneal first if the part was machined — heat-treating relieves internal stress and prevents crazing cracks during polishing.
- Wet-sand progressively: 800 → 1000 → 1500 → 2000 grit (keep it wet to avoid heat).
- Buff with plastic-specific compound on a low-speed wheel for a true mirror finish.
- Flame polishing is allowed (uniquely, among these three): a quick flame pass melts the surface skin optically smooth — ideal for edges.
- Solvent bonding with dichloromethane for invisible joints.
4.3 Polycarbonate (PC): Vapor or Nothing
- Never flame-polish PC — it yellows, whitens, and distorts.
- Avoid aggressive dry buffing — PC softens with friction heat and hazes; if mechanical polishing is used, keep speeds low, coolants on, and pressure minimal.
- Vapor polishing is the professional route: the part is suspended in a chamber of vaporized solvent (dichloromethane or similar), which reflows a micron-thin surface layer to optical smoothness — a VOC process requiring a sealed chamber, fume extraction, and PPE.
- Apply a hard coat for real-world use: silicone or acrylic hardcoats lift scratch resistance from HB–2H to 4H+ while preserving impact strength.
- Specify UV-stabilized grades or UV topcoats for anything outdoors.
4.4 Clear Cast PU: Gentle Abrasion + Protection
- Demold gently — fresh PU scratches easily.
- Fine wet-sanding (1200–2000 grit) only where needed; the mold surface usually dictates the finish.
- Plastic polish or micro-abrasive compounds restore gloss.
- UV-stable clear topcoat if the resin grade isn’t inherently UV-resistant — this single step decides whether the part stays water-clear or turns amber in a year.
Post-Processing Cheat Sheet
| Method | SLA Resin | PMMA | PC | Clear Cast PU |
| Wet sanding + buffing | Essential | Excellent results | Difficult — hazes easily | Light touch only |
| Flame polishing | No | Yes (edges) | Never | No |
| Vapor polishing | No | Possible | Best method | No |
| Clear coat / resin dip | Standard clarity step | Optional | Optional | Recommended |
| Hard coat (scratch) | Optional | Rarely needed | Often required | Optional |
| UV-protective topcoat | Strongly advised | Not needed | Outdoor parts | If not UV-grade |
5. Which Route for Your Part?
- Need it in 48 hours, complex internal geometry, 1–3 pieces? Clear SLA resin, sanded and clear-coated.
- Need the best possible optics, outdoor durability, or lens-grade finish? Machined PMMA, annealed and buffed (or cast PMMA-like PU for 10+ identical pieces).
- Need it to survive impact, heat, or pressure? Machined PC, vapor-polished and hard-coated.
- Need 5–25 identical clear parts for user trials or demos? Vacuum casting in clear PMMA-like or PC-like PU — the sweet spot between a single prototype and production tooling.
- Volume beyond ~100 pieces? Time to quote injection molding in true optical PMMA or PC.
6. Clear Parts, Made Right the First Time
At Utely Machine, transparent parts are a daily routine, not an experiment: SLA clear printing, PMMA/PC precision machining, and clear vacuum casting all under one roof — with the correct finishing line for each material, from vapor polishing to hard coating. Upload your STEP file for a free DFM review and 24-hour quotation, and tell us what your clear part needs to survive — we’ll match the material and the finish to the job. Visit us at www.utelymachine.com.