


SLA 3D Printing vs. CNC Machining for Automotive Bumper Prototypes
Big, curvy, feature-dense, and needed in a quantity of one — the bumper is the cruelest test part in prototyping.
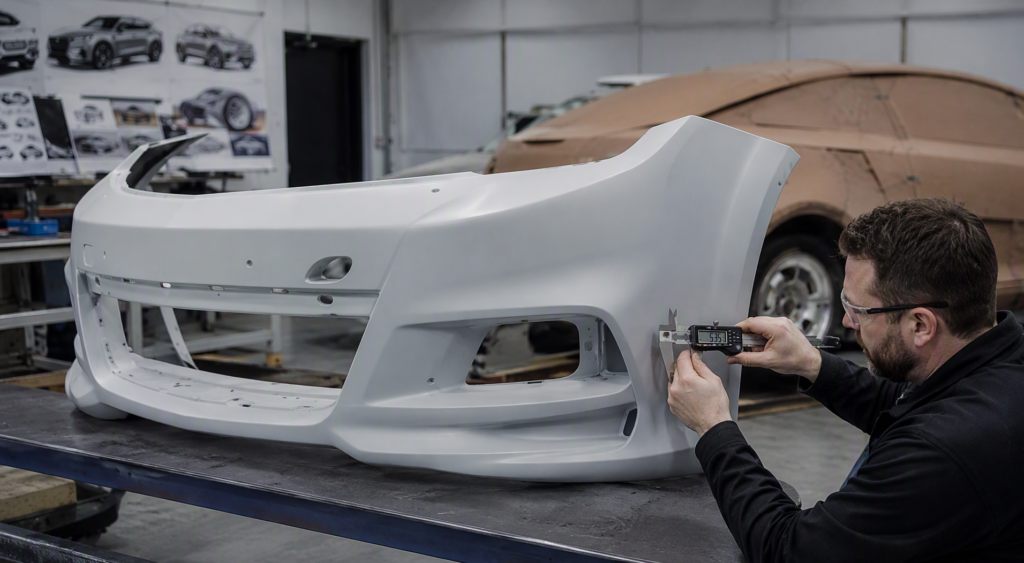
A full-size bumper prototype under dimensional inspection in an automotive studio.
A car bumper is one of the cruelest test parts in prototyping: it is big (1.4–1.9m wide), curvy (pure styling surface, no flat datums), feature-dense (grille openings, sensor pockets, lamp seats, mounting clips), and it must look like a production part while being made in a quantity of one.
Two technologies dominate bumper prototyping — large-format SLA 3D printing and CNC machining from ABS/PU blocks — and experienced studios use both, for different reasons. This guide breaks down how the two processes differ, the accuracy each can really hold on a part this size, where each is applied, and the precautions that keep a bumper project from going sideways.
1. The Fundamental Difference: Additive vs. Subtractive
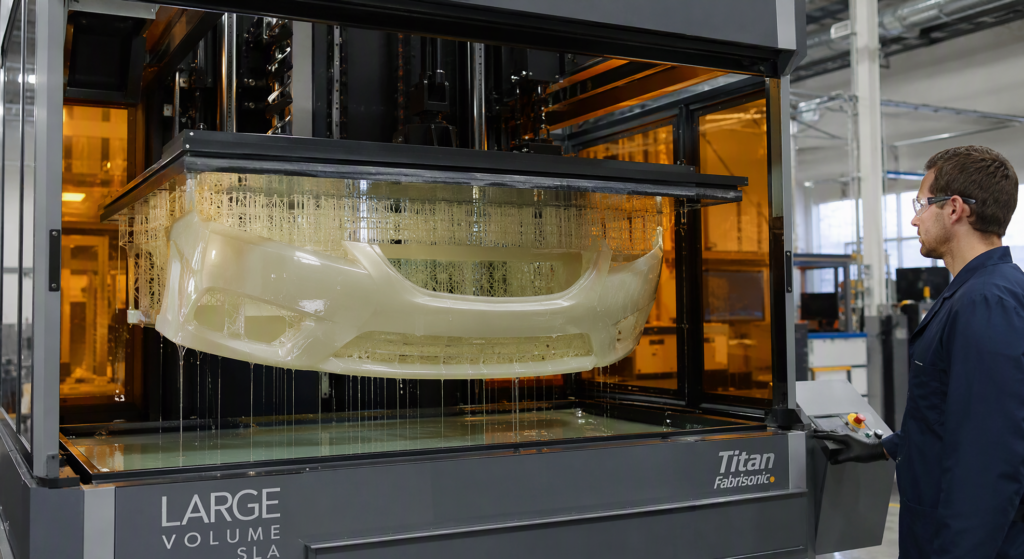
A full-size bumper rising from the resin vat of a large-format SLA printer — one piece, one to two days.
SLA (Stereolithography) builds the bumper layer by layer: a UV laser cures liquid photopolymer resin in a vat, tracing each cross-section at 0.05–0.1 mm layer heights. Large-format machines with build volumes up to 1,700–2,100 mm can print a full-size bumper in one piece in one to two days — no tooling, no fixtures, no CAM programming.
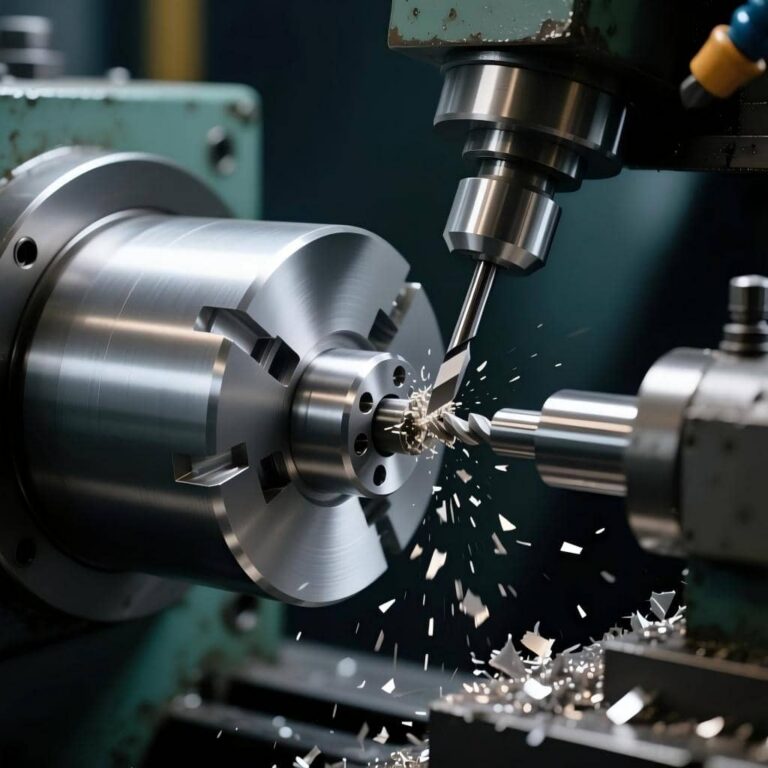
CNC machining starts from the opposite direction: blocks of ABS, PU tooling board, or PC are laminated into a rough billet, and a 3- or 5-axis milling machine cuts away everything that isn’t a bumper. Every surface the cutter touches is a true, continuous machined face. That one difference — adding versus removing — cascades into everything else: accuracy, surface, material, cost structure, and lead time.
2. Accuracy on a Part This Size
Bumper-sized parts behave differently from the small components most tolerance tables describe — absolute numbers grow with part length:
| Accuracy aspect | Large-format SLA | CNC machining (ABS/PU block) |
| Small features (holes, slots, clips) | ±0.1–0.2 mm | ±0.02–0.05 mm (CMM-verifiable) |
| Full-length dimensions (1.5 m+) | ±0.3–0.5 mm (thermal drift, cure shrinkage accumulate) | ±0.1–0.3 mm across sections; excellent with temperature control |
| Typical general tolerance | ±0.2% of nominal | ±0.05–0.1 mm on styling-critical zones |
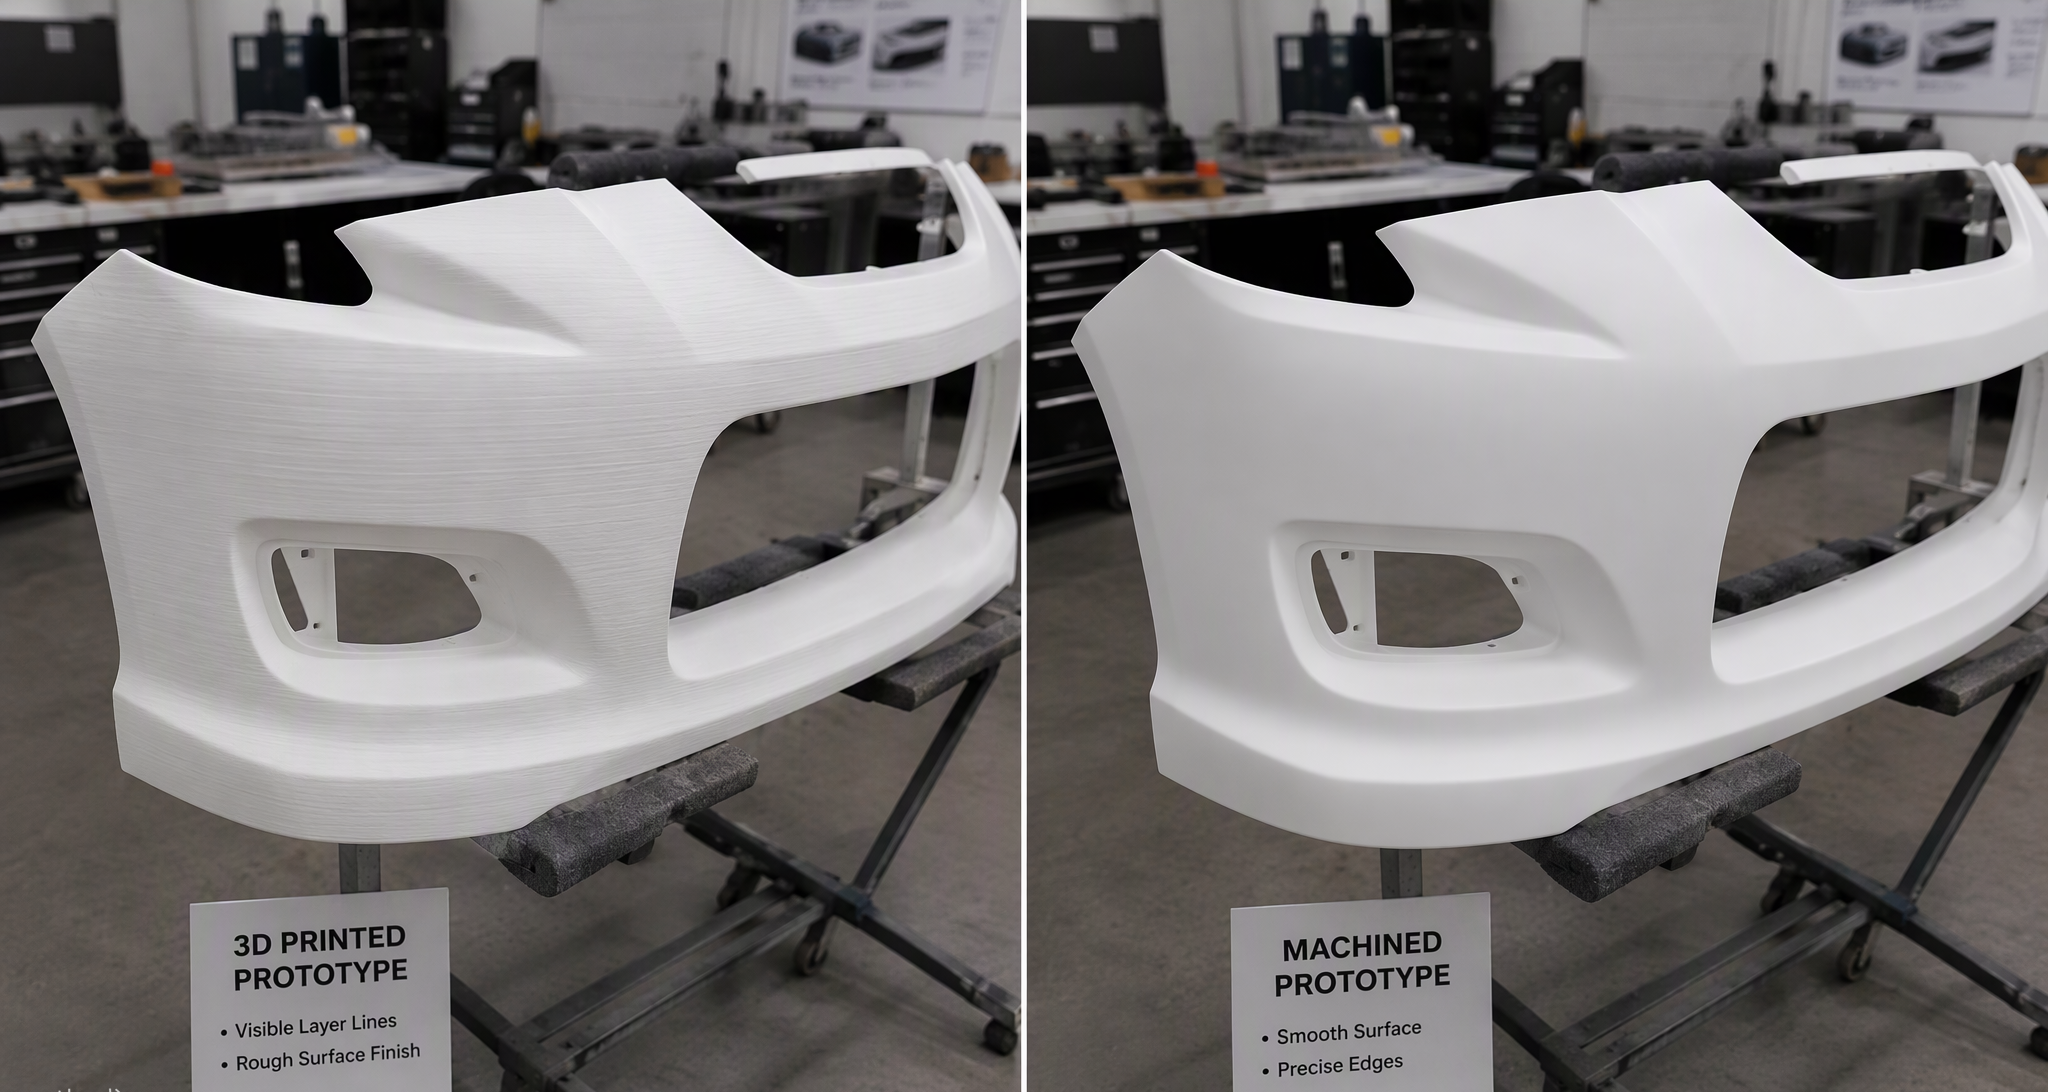
| Surface finish (as-built) | Smooth for a printed part, but visible layer stepping on shallow curves (Ra ~10–15 µm) | True machined surface, Ra 1.6–3.2 µm; cutter marks polish out easily |
| Mounting-point precision | Good for fit checks; precision bores should be post-drilled/reamed | Directly machined to final tolerance |
| Repeatability (2nd, 3rd copy) | Good, but resin aging and orientation shift things slightly | Excellent — same program, same result |
The honest summary: SLA is the most accurate printing technology, and on small features it approaches machining. But across a 1.8 m bumper, resin cure shrinkage (0.3–1.2% for photopolymers) and thermal behavior accumulate, while a CNC mill’s positioning accuracy barely degrades with distance. When mounting-point precision and aerodynamic surface trueness matter — wind-tunnel models, production-intent fit validation — machining holds the tighter envelope.
3. Material Reality: What Each Bumper Is Actually Made Of
- SLA bumper: ABS-like or PP-like photopolymer resin. It looks the part and handles handling loads, but it is not the production PP/EPDM blend — it’s more brittle, heat-limited (~50–70 °C), and UV-sensitive. Fine for styling, fit, and show; not for crash or durability testing.
- CNC bumper: genuine engineering thermoplastic — ABS, PC, PP, or laminated PU tooling board — with full, isotropic material properties. It survives handling, transport, clamping loads, and paint-shop temperatures without complaint.
4. Applications: Who Uses Which, When
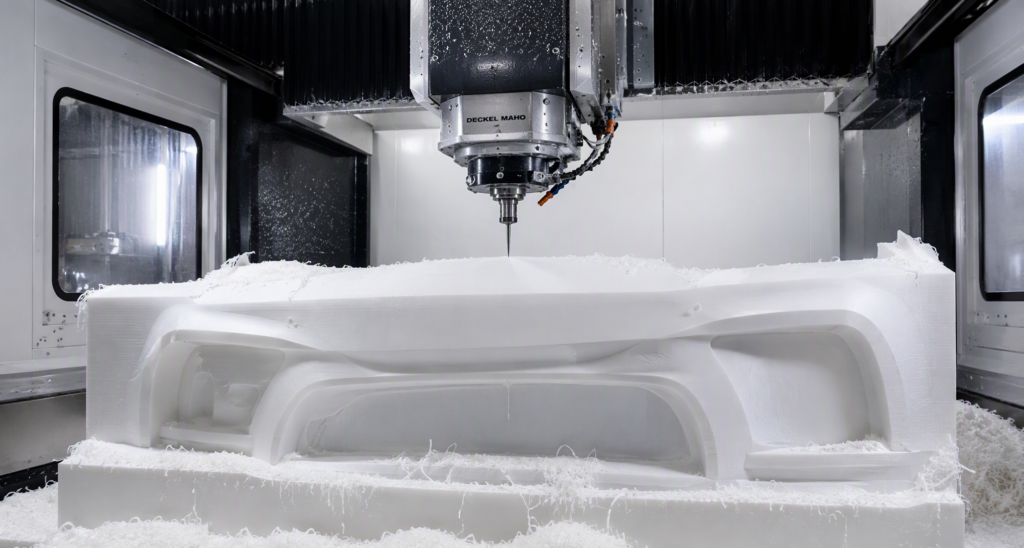
5-axis CNC carving a bumper from laminated ABS block — every surface a continuous machined face.
SLA printing is the default for:
- Styling and design reviews — the bumper exists to be looked at, touched, and argued over. Print it, prime it, present it.
- Fast iteration loops — grille and intake variants print overnight; ten styling iterations per month is a realistic SLA pace.
- One-off show cars and concept models — appearance-grade after finishing, no tooling amortization.
- Complex integrated features — clip towers, honeycomb grilles, internal ribs cost nothing extra in additive.
- Masters for vacuum casting — a polished SLA bumper master feeds silicone molds when 5–20 copies are needed.
CNC machining is the default for:
- Aerodynamic and wind-tunnel validation — surface trueness and edge definition directly affect measured drag.
- Production-intent fit and assembly validation — mounting holes, gaps, and flushness to hood/fenders/lamps at real tolerances.
- Functional and handling-robust parts — bumpers that will be transported, mounted repeatedly, or tested outdoors.
- Material-truth testing — when the question is “how does real ABS/PP behave,” only machining answers it.
The hybrid pattern used in real studios: SLA-print the appearance shell for styling loops, CNC-machine the engineering-validation bumper in real material, then CNC-machine the molds for production. Speed where speed matters, precision where precision matters.
5. Precautions: What Actually Goes Wrong
SLA-printing a bumper — watch out for:
- Warping and creep on long spans. A 1.8 m thin-walled resin part is a diving board. Orient to minimize cross-section per layer, support long edges generously, and post-cure on a flat, supported fixture.
- Resin brittleness. Photopolymer bumpers crack at mounting points if forced. Chase mounting holes with a drill/reamer; never force a bolt.
- UV and heat sensitivity. Uncoated resin yellows and embrittles in sunlight; prime and paint promptly, and don’t store near windows or heaters.
- Finishing changes dimensions. Sanding removes 0.05–0.3 mm and primer/paint adds 30–80 µm per coat. Agree the finishing allowance on mating surfaces before printing.
- Splitting strategy when the machine is too small. Put split lines in low-stress, low-visibility zones, add alignment features and bonding flanges, and verify section accuracy individually before gluing.
- Support placement on cosmetic faces. Supports leave witness marks — keep them off the show surface even if it costs build time.
CNC-machining a bumper — watch out for:
- Block lamination quality. The billet is glued up from boards; a weak bond line under the cutter becomes a delaminated bumper. Use matched adhesive and full cure time before machining.
- Fixturing thin, large panels. An 80 mm thick ABS shell chatters if under-supported — fixture the part on its own machined cradle, and take light finishing passes.
- Tool access on deep recesses. Lamp pockets and intake tunnels may exceed cutter reach; plan 5-axis work or split into sections early, not mid-program.
- Cost and lead time honesty. Machining a full bumper means days of machine time plus programming and fixturing — typically 7–10 working days versus 2–5 for SLA.
- Swarf and heat management. ABS melts if feeds/speeds are wrong; sharp tools, air blast, and chip evacuation keep surfaces clean.
- Don’t machine to a mirror finish what will be painted anyway. If the bumper will receive filler, primer, and paint regardless, machine to a clean, accurate base and let the paint shop finish it.
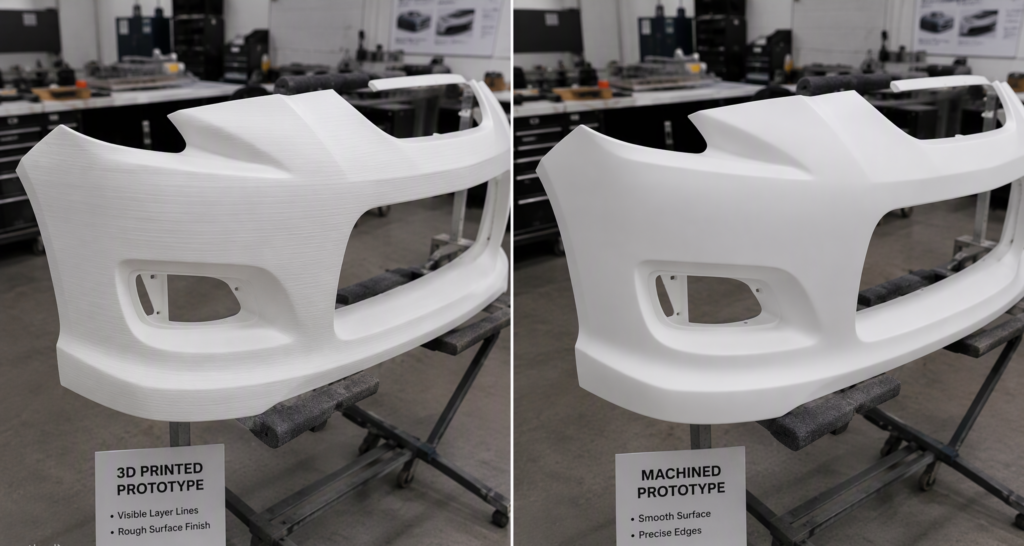
Printed versus machined: layer stepping on shallow curves versus a continuous machined surface.
6. Decision Guide
| Your bumper’s job | Choose | Why |
| Styling review, design freeze loop | SLA | Overnight iterations, geometry freedom, lowest cost per variant |
| Show car / exhibition | SLA + professional finishing | Appearance-grade after primer and paint; layer lines invisible under 2K clear |
| Wind tunnel / aero validation | CNC | Surface trueness and edge definition at ±0.02–0.05 mm zones |
| Assembly & gap validation with production intent | CNC | Real tolerances, real material, CMM-verifiable |
| Outdoor/transport/handling-heavy use | CNC | Real thermoplastic toughness vs. brittle resin |
| 5–20 identical copies for fleet trials | SLA master → vacuum casting | Mold amortizes across copies |
| Budget check at quantity = 1 | SLA | No programming, fixturing, or billet cost |
7. Bumpers, Both Ways
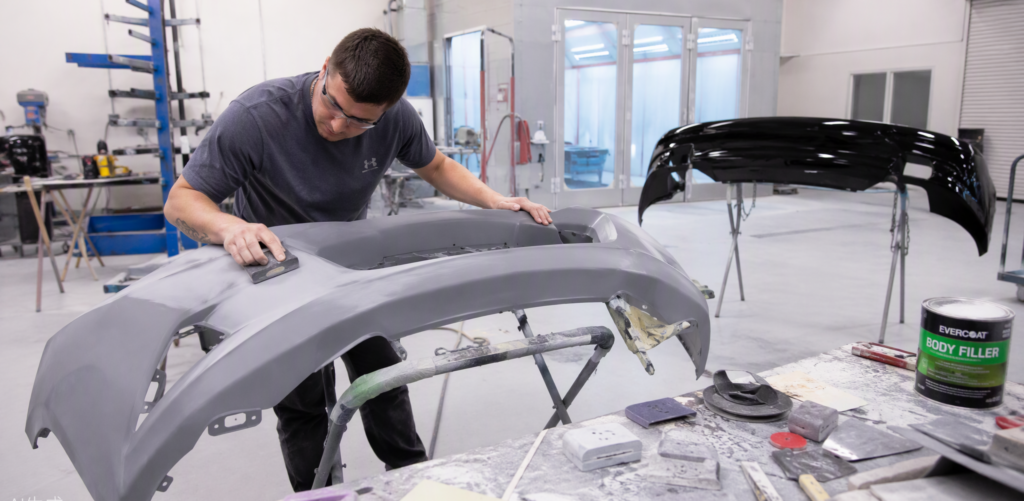
Where both processes meet: the finishing bench — sanding, priming, and paint make the verdict.
At Utely Machine, bumper prototyping runs on both rails: large-format SLA for styling speed, and 3/5-axis CNC machining in ABS/PC/PP for validation-grade accuracy — with in-house sectioning, precision bonding, sanding, priming, and paint so the part arrives show-ready or test-ready. Upload your CAD for a free DFM review and 24-hour quotation, and tell us what the bumper needs to prove — we’ll match the process to the mission. Visit us at www.utelymachine.com.