


From One Master to Fifty: How Silicone Mold Casting Delivers Flawless Transparent Lamp Shade Housings
A practical look at the vacuum-casting workflow behind crystal-clear lighting prototypes and short-run production.
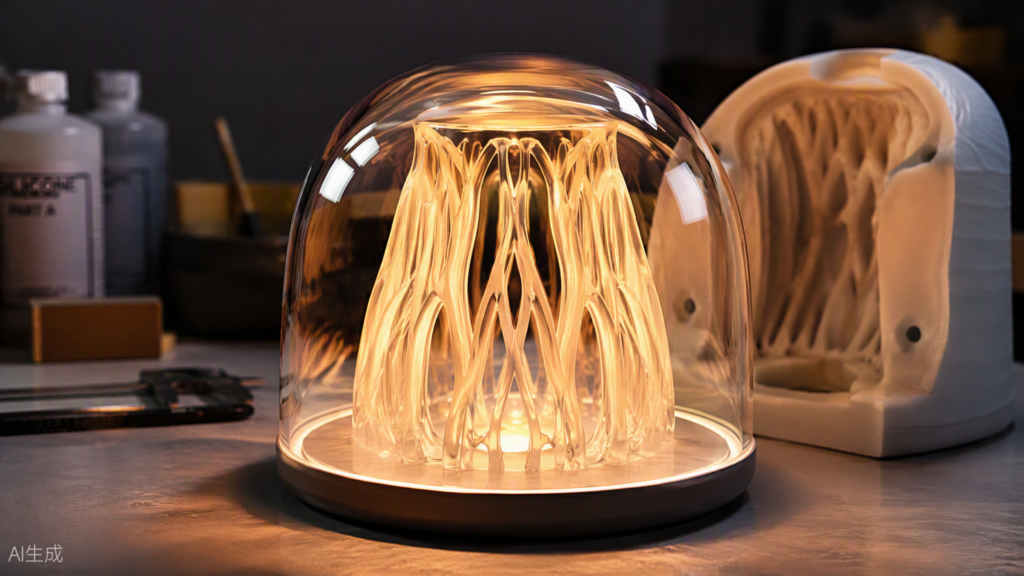
Lighting design lives and dies by one thing: how the shade handles light. A lamp shade housing must be optically clear, free of bubbles and flow lines, and dimensionally precise enough to snap onto its base without a fight. For design studios and small-batch manufacturers, injection molding a clear PC or PMMA shell means five-figure tooling bills and weeks of waiting — a terrible trade when you only need 10 to 50 pieces, or when the design is still evolving.
That is exactly where silicone mold casting — also known as vacuum casting or urethane casting — has become the quiet workhorse of the lighting industry. One polished master, one flexible RTV silicone mold, and a vacuum chamber: within days, not months, you get transparent lamp shade housings that look and feel like final production parts.
Why Silicone Molds for Clear Lamp Shades?
RTV (room-temperature-vulcanizing) silicone captures surface detail down to embossed text and fine texture, and it flexes — which means a dome-shaped shade with gentle undercuts releases cleanly without draft-angle compromises. A well-made mold typically survives 15–25 casting cycles before the cavity starts to lose its edge definition, which maps perfectly onto prototype and bridge-production volumes.
For transparent work specifically, three properties matter most:
- Optical fidelity. The silicone cavity faithfully reproduces the master’s surface. Polish the master to an SPI A-1 diamond-buff gloss, and every casting inherits that gloss.
- Non-stick chemistry. Most casting resins release from silicone without aggressive release agents that could haze a clear surface.
- Thermal headroom. Silicone tolerates the exotherm of fast-curing polyurethane resins cycle after cycle.
Choosing the right silicone is the first fork in the road. Platinum-cure (addition-cure) silicones cost more but offer superior dimensional stability and very low shrinkage — the right call when the shade must fit a machined base. Tin-cure (condensation-cure) silicones are budget-friendlier but shrink more over time. A Shore A hardness around 30–40 hits the sweet spot for dome shapes: firm enough to hold geometry, soft enough to demold without stressing the part.
The Process, Step by Step
Step 1 — Prepare and Polish the Master
Everything downstream copies the master, so this is where clarity is won or lost. Masters are typically CNC-machined or 3D printed (SLA at 50 µm layers is common), then sanded through progressively finer grits and polished to a mirror finish. Any layer line, scratch, or fingerprint on the master will appear on every single casting. For clear parts, the master is polished to optical gloss before the mold is ever poured — there is no fixing it later.
Step 2 — Build the Mold Box and Pour the Silicone
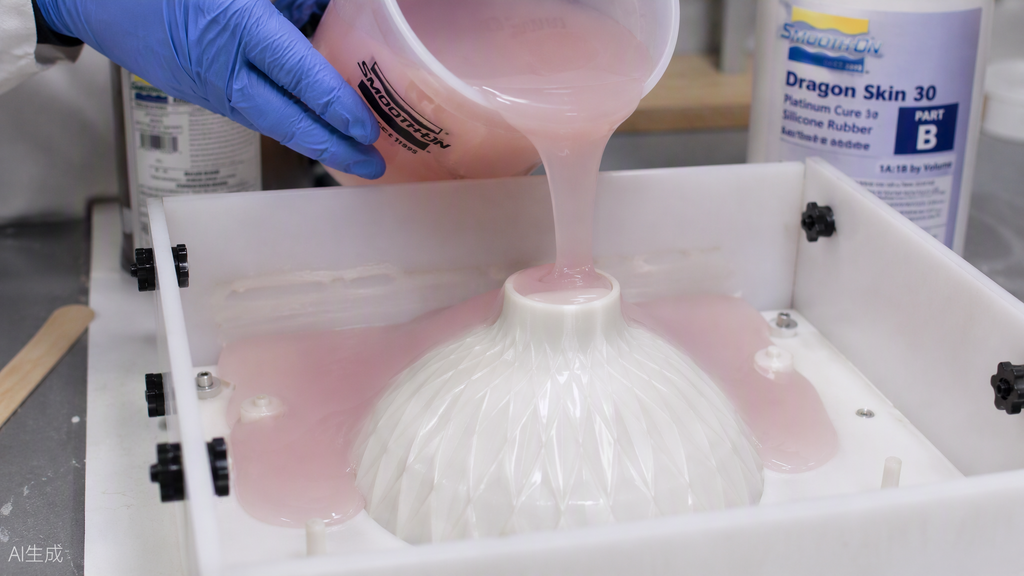
Pouring liquid RTV silicone over a polished dome master in a mold housing.
The master is sealed, sprayed with a light release agent, and fixed inside a mold housing with registration keys. For a full 3D shade, a two-part mold is standard: the first half is poured over the master embedded to its parting line, cured, flipped, and the second half poured against a release-coated parting face — with a pour sprue and air vents planned in from the start.
Pouring technique is a craft in itself: mix the two-component silicone thoroughly, then pour in a thin, steady stream from one corner, letting the silicone fold over the master rather than trapping air against it. A pass through the vacuum chamber (degassing) pulls dissolved air out of the mixed silicone before or right after pouring — the single most effective defense against a pockmarked cavity.
Step 3 — Vacuum Cast the Transparent Resin
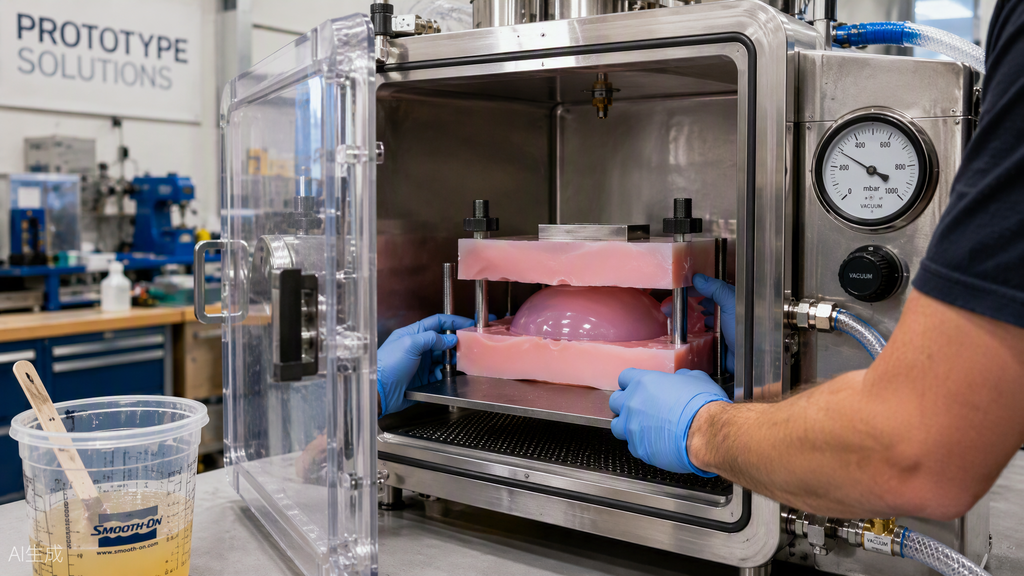
Loading a two-part silicone mold into a vacuum casting chamber.
Here is where transparent lamp shades separate themselves from ordinary castings. The two mold halves are reassembled, clamped, and placed inside a vacuum casting chamber. A water-clear polyurethane resin (optical-grade PU formulations mimic PMMA’s clarity at a fraction of the tooling cost) is degassed, mixed, and poured into the mold — all under vacuum.
Why bother? Because every micro-bubble that would otherwise hide in a thin wall or a decorative rib gets pulled out before the resin gels. The vacuum delivers what gravity casting cannot:
- Bubble-free walls — no weak spots, no sparkle defects under light
- Consistent wall thickness and strength across the whole dome
- True optical transparency — the part diffuses light evenly instead of scattering it at trapped voids
Step 4 — Demold, Trim, and Polish
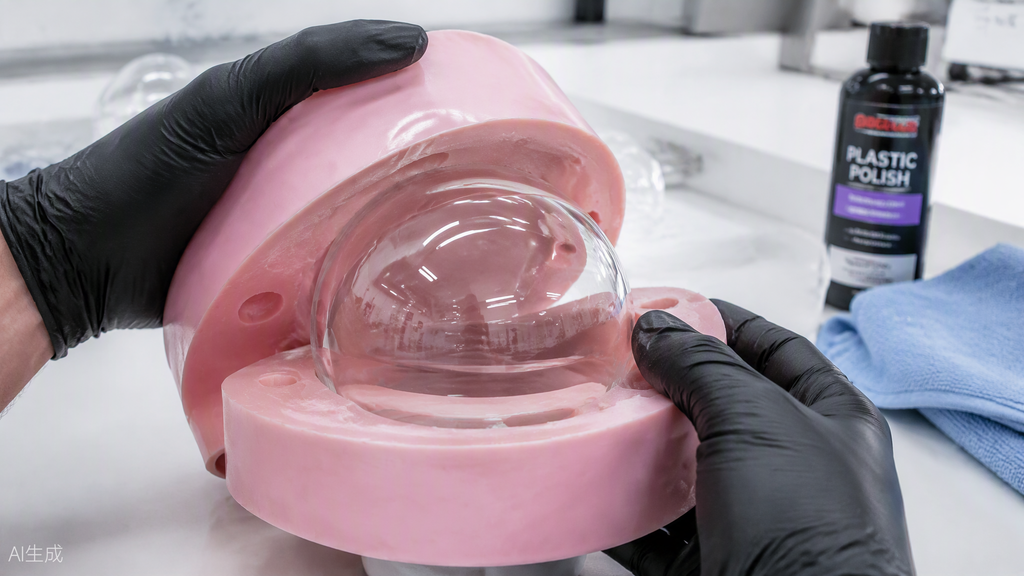
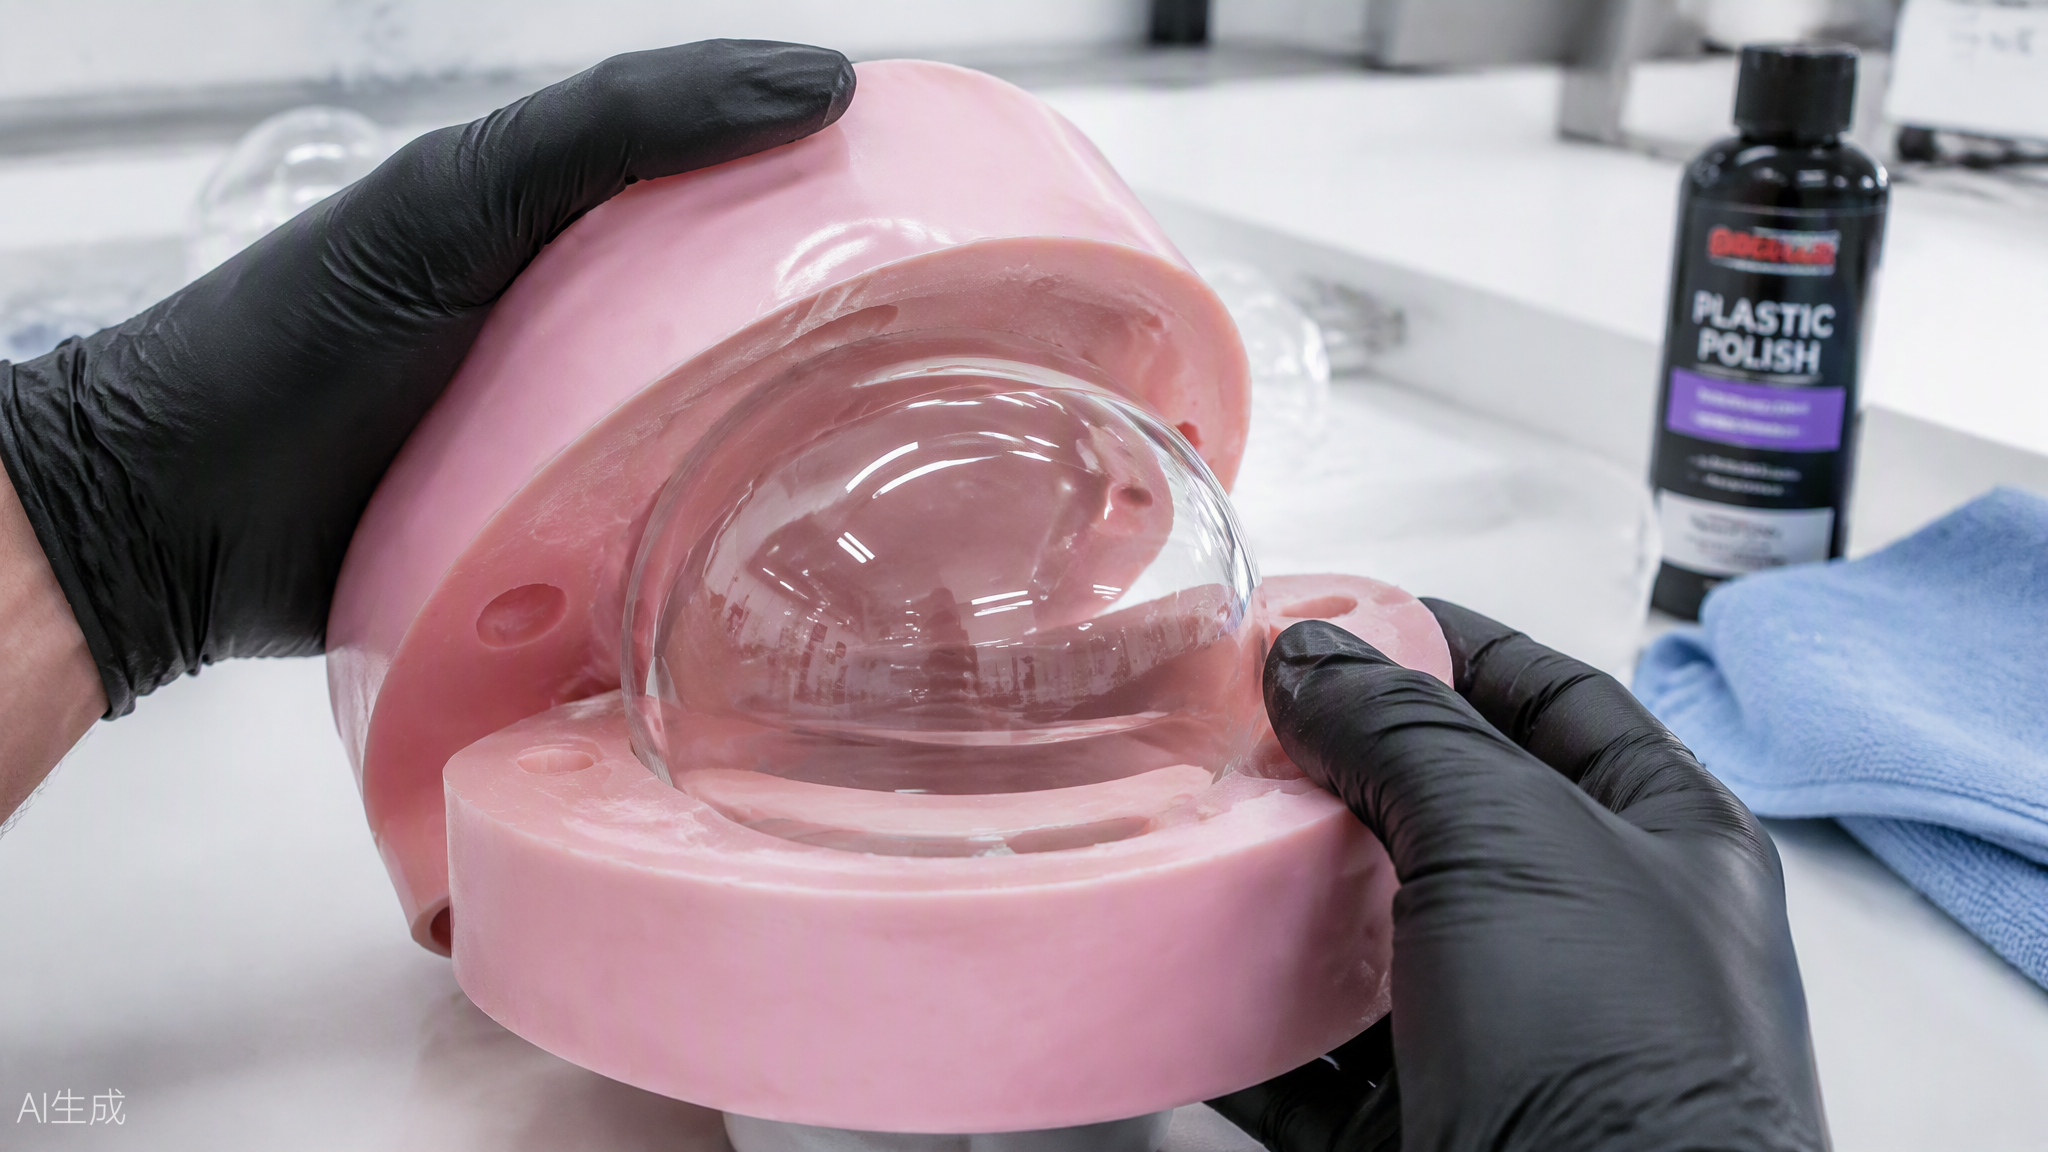
Demolding a bubble-free transparent shade from the flexible silicone mold.
After the resin cures (typically 30–90 minutes in the mold, often followed by a post-cure bake), the flexible mold peels open and the shade lifts out. The sprue is trimmed, the parting line is wet-sanded, and the part gets a final polish with plastic polishing compound. Done right, the finished housing is indistinguishable from an injection-molded clear part — at 1/50th of the tooling investment.
Quality Tips That Separate Good from Great
1. Degas twice — once for the silicone, once for the casting resin. Bubbles are the enemy of clarity.
2. Watch your parting line. On a clear part, a mismatched mold seam reads as a visible ring. Use generous registration keys and clamp evenly.
3. Control the exotherm. Overly fast resin in a thick section can yellow or stress-craze. Match resin pot life to part volume.
4. Respect mold life. Clean molds with mild soap after use, dry fully, and store flat. A cared-for mold pays you back across its full 15–25 shots.
5. Choose the finish on the master, not the part. Gloss master → gloss parts. Bead-blasted master → frosted, light-diffusing parts. One mold, one texture decision.
Where This Shines
Silicone-mold vacuum casting has become the default route for lighting prototypes, boutique and hotel fixture runs, museum and retail display lighting, and design-validation units ahead of mass production. When the brief calls for a transparent shade in weeks — not quarters — and in quantities tooling can’t justify, the flexible mold wins every time.
From one polished master to a shelf of glowing, glass-clear lamp shades: that is the quiet magic of silicone mold casting.
Upload your CAD today: DFM feedback and quotation within 24 hours → Get Instant Quote